要使用GitHub Pages服务部署静态网站,首先要创建一个GitHub仓库。默认情况下,如果你的仓库名字是<username>.github.io,那么你的网站将会被部署到https://<username>.github.io。否则,你的网站将会被部署到https://<username>.github.io/<repository-name>。举个例子,假如你的GitHub用户名是john,那么仓库john.github.io将会被部署到https://john.github.io,而仓库my-website将会被部署到https://john.github.io/my-website。当然,你也可以在设置中使用自定义域名。
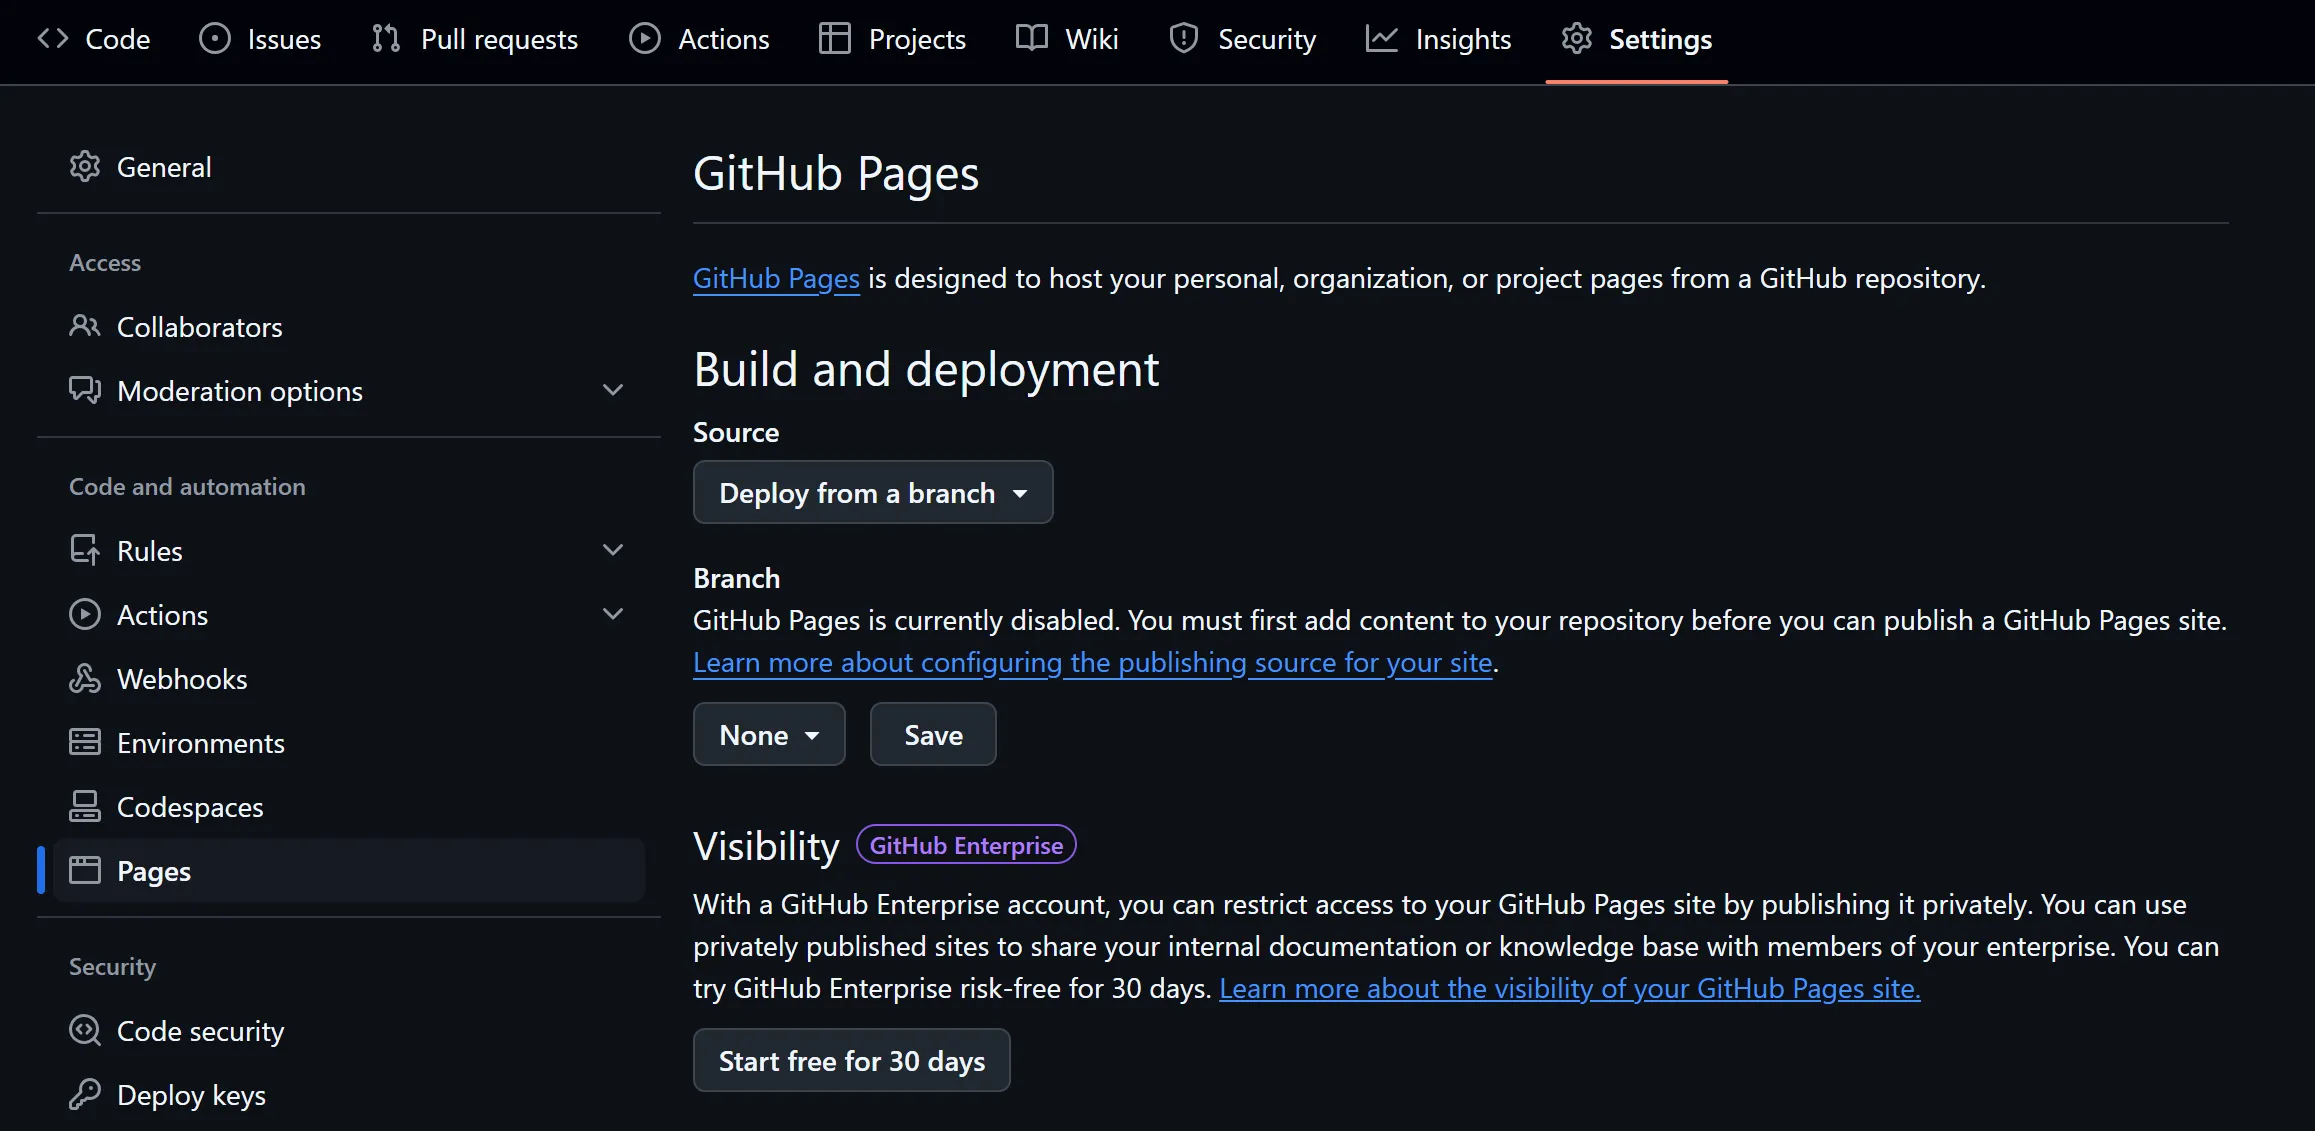
创建完仓库之后,要在仓库的设置中启用GitHub Pages(参见下图)。这里Source有两个选项:"GitHub Actions"和"Deploy from a branch"。如果选择后者,那么GitHub Pages会直接将指定分支的内容作为网站源代码。这个选项比较直观,我一般就用这个。
如果你的网站是完全手写的,那么直接将网站内容上传到main分支,然后选择从main分支部署即可。但很多时候,网站是通过静态网站生成器生成的,这种情况下,如果手动上传生成的网站内容,就会比较麻烦。这时候,我们可以使用GitHub Actions来自动化这个过程。主要流程是:将生成网站的代码放在main分支下,然后通过GitHub Actions执行main分支,将生成的网站内容更新到gh-pages分支,最后选择从gh-pages分支部署网站。
下面是我使用的一个GitHub Actions配置文件,它会在main分支有新的commit时,自动执行npm run build,然后将生成的dist目录下的网站内容推送到gh-pages分支。
name: Deploy to GitHub Pages

on:
  push:
    branches:
      - main
  workflow_dispatch:

jobs:
  build:
    runs-on: ubuntu-latest
    # Grant write permissions to GITHUB_TOKEN
    permissions:
      contents: write

    steps:
      - name: Checkout code
        uses: actions/checkout@v2

      - name: Set up Node.js
        uses: actions/setup-node@v2
        with:
          node-version: '20'

      - name: Install dependencies
        run: npm install

      - name: Build the project
        run: npm run build

      # Commit the generated files in the `dist` directory of the `main` branch
      # to the `gh-pages` branch
      - name: Deploy to GitHub Pages
        uses: peaceiris/actions-gh-pages@v3
        with:
          github_token: ${{ secrets.GITHUB_TOKEN }}
          publish_dir: ./dist